This post may contain affiliate links which means I may receive a commission from purchases made through links.
I will only recommend products I have personally used. Learn more on my Disclaimer page.
Why not re-connect with mother earth and add a little green to your indoor environment by building your own terrarium with a DIY terrarium kit! There are some really cool DIY terrarium kits available or if you want to gather your own items to build it, here are some tips to build a beautiful enclosed moss or fern terrarium.

I built my first terrarium out of an old cookie jar!

I was gifted this beautiful book for my birthday over 8 years ago called “Tiny World Terrariums” by Michelle Inciarrano, Katy Maslow, which certainly helped turning my terrarium making hobby into a bit of an obsession with terrariums!
The first terrarium that I built was an old cookie jar, then I moved onto an upcycled coffee jar.
How to build a Mossy/Fern Terrarium
Whether you use a DIY Terrarium Kit or gather the elements yourself, here’s a few tips on how you can build a mossy/fern terrarium.
Step 1
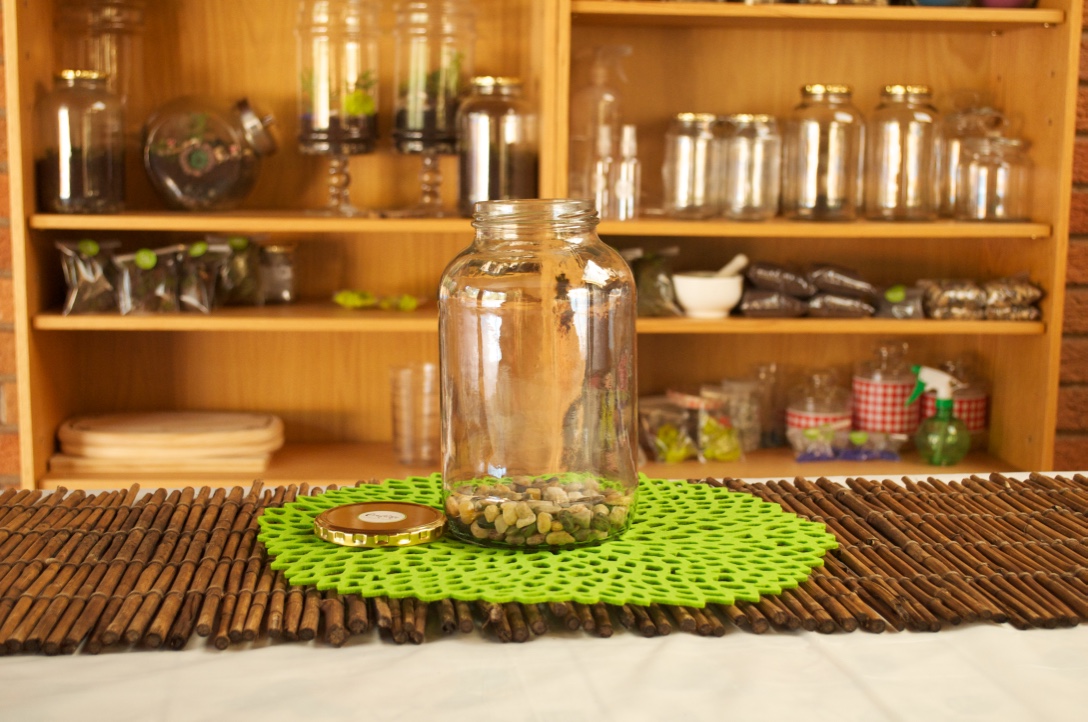
Firstly, choose your glass jar or container. The choice of glass container is completely up to you, as long as it has a lid if you are building a mossy/fern terrarium. For the terrarium pictured above, I’ve just used an old cookie jar. But you could use a large glass food storage jar or there are many different and beautiful terrarium glass containers as well.
Then, you’ll need to add a thin layer of rocks to the bottom of your glass container. These rocks will help to form a drainage system to prevent the roots of the plants from sitting in the water and rotting.
Step 2
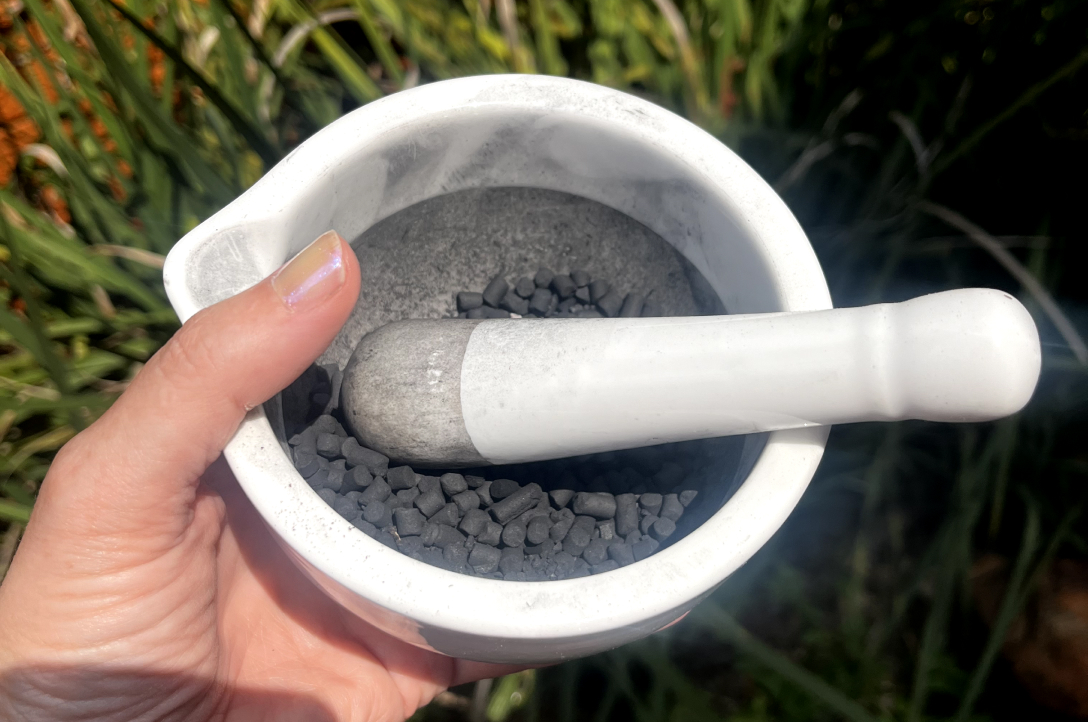
Sprinkle a layer of activated charcoal over the rocks. This will help to absorb any excess moisture.
I bought some activated charcoal from a pet store, but the best is horticultural activated charcoal. I crushed it using my motar and pestal.
Step 3
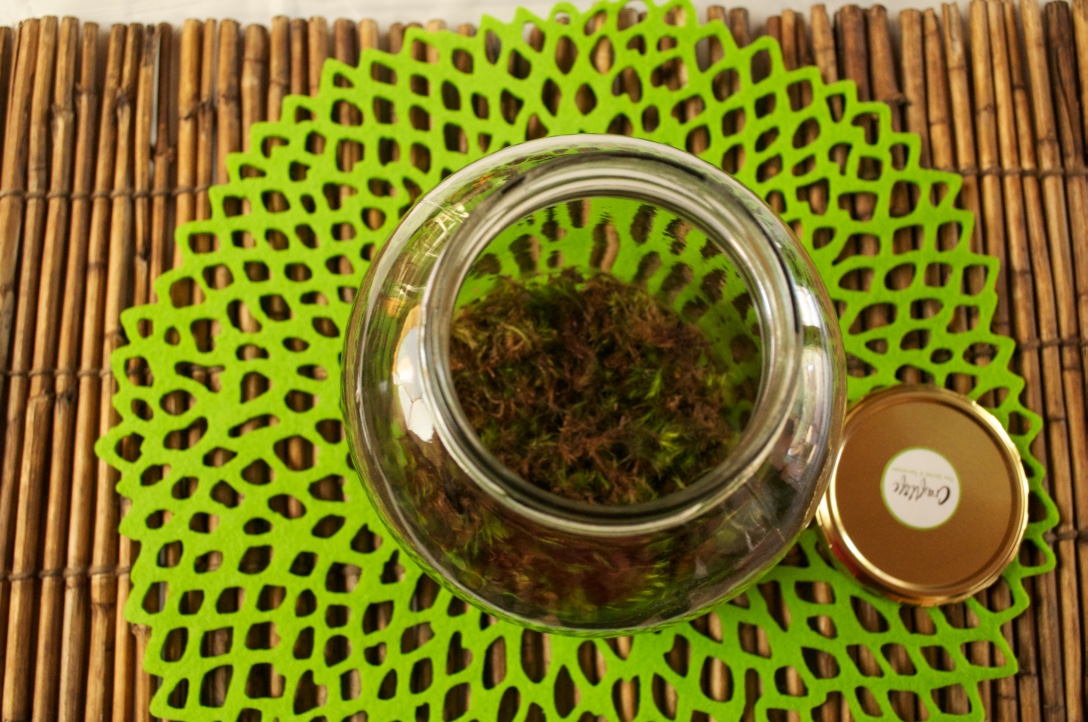
Soak a sheet of Spagnum Moss in water, squeeze out the excess & flatten it like a pancake over rocks. This will act as a filtration layer between your rocks and soil. You can use a paint brush or pokey stick to try to flatten the sheet moss as much as possible over your rocks.

Step 4
Next add the soil so that it covers the sheet moss. You can already start mini landscaping by delicately moving around the soil to give it some height in certain places.
After you have added your soil, take the “Live Moss” and soak it in a bowl of room temperature water for a few minutes. Now you are ready to start planting.
Step 5
Since this is a moss/fern terrarium kit, the type of plants you need to use will need to be able to survive in this humid environment.
Click here to view a list of “Terrarium-friendly plants”.
Gently remove each plant from it’s original pot and start arranging as desired in your terrarium. If it makes it easier, use a chopstick as a “pokey-stick” to dig and gently move the plants around as desired. Another useful tool is a small paint brush to gently brush off any soil that gets deposited on the leaves.
Try not to add too many plants because they will each need room to grow. Once you have found an arrangement that you like, gently cover the roots with some soil and tap the plants down with your paintbrush to make them feel secure and supported.
Next, gently squeeze out some of the water from your “Dried Live Moss” and place the moss on top of the soil. Use a paint brush to gently pat down the moss so that there is not so much air between the soil and your “Live Moss”.

Step 5
If you like, you can try to close the gaps with all the “Live Moss” pieces like a jigsaw puzzle, or you can also add some bark chip pieces or decorative pebbles, and some blue crushed glass “water”, preserved moss & figurine to create your own unique mini world.
Complete your Terrarium by lightly misting your plants with water from your spray bottle and put the lid on. If the sides of your terrarium have soil on, you can use a bit of paper towel wrapped on the end of your “pokey stick” to gently wipe on the inside of the glass.