
This post may contain affiliate links which means I may receive a commission from purchases made through links.
I will only recommend products I have personally used. Learn more on my Disclaimer page.
Here’s how we transformed our old broken jacuzzi into a stunning fish pond, including all the steps we took and the materials we used.

DIY: Check out our Jacuzzi to Fish Pond renovation

A couple of years ago, my husband, first born son and I moved in with my in-laws in their beautiful house in Johannesburg, South Africa. The house was built in the 1960’s so there’s always been something to fix, or maintain.
One of these things, just happened to be an old jacuzzi who hadn’t been working for over 30 years! After getting a quote or two to fix the jacuzzi pump, we decided it was going to cost too much to fix so we wondered if we could convert it into an indoor fish pond.
Check out this old photo of my husband and his older brother sitting in the jacuzzi cira 1981!
Step 1: Cleaning and preparation
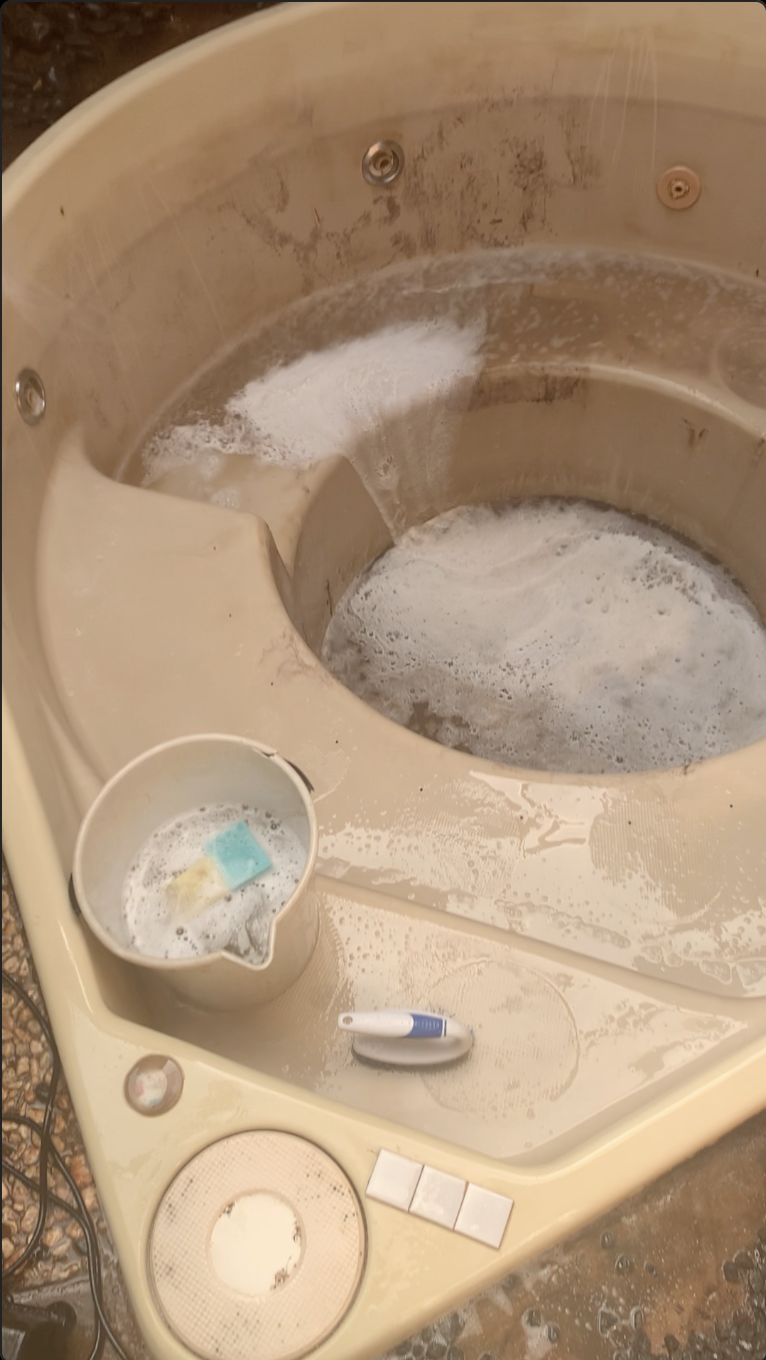
The first thing we had to do, was clean the base of the jacuzzi. The fibre glass was stained and really dirty (so gross).
We scrubbed for quite some time (rage cleaning to our favourite metal hits) and kept rinsing and then collecting the dirty water in buckets.
We had to keep rinsing and cleaning over and over, and we tried not to use harmful chemicals because we wanted to make sure the fish wouldn’t be harmed when we eventually filled it with water.
This was a lot of work but finally it was starting to look a little better. Since the jacuzzi was so deep, we had to make sure we had enough pond lining to fill the odd shape of the jacuzzi as well as to be able to withstand the weight of the water.
Step 2: Measuring and installing the pond lining
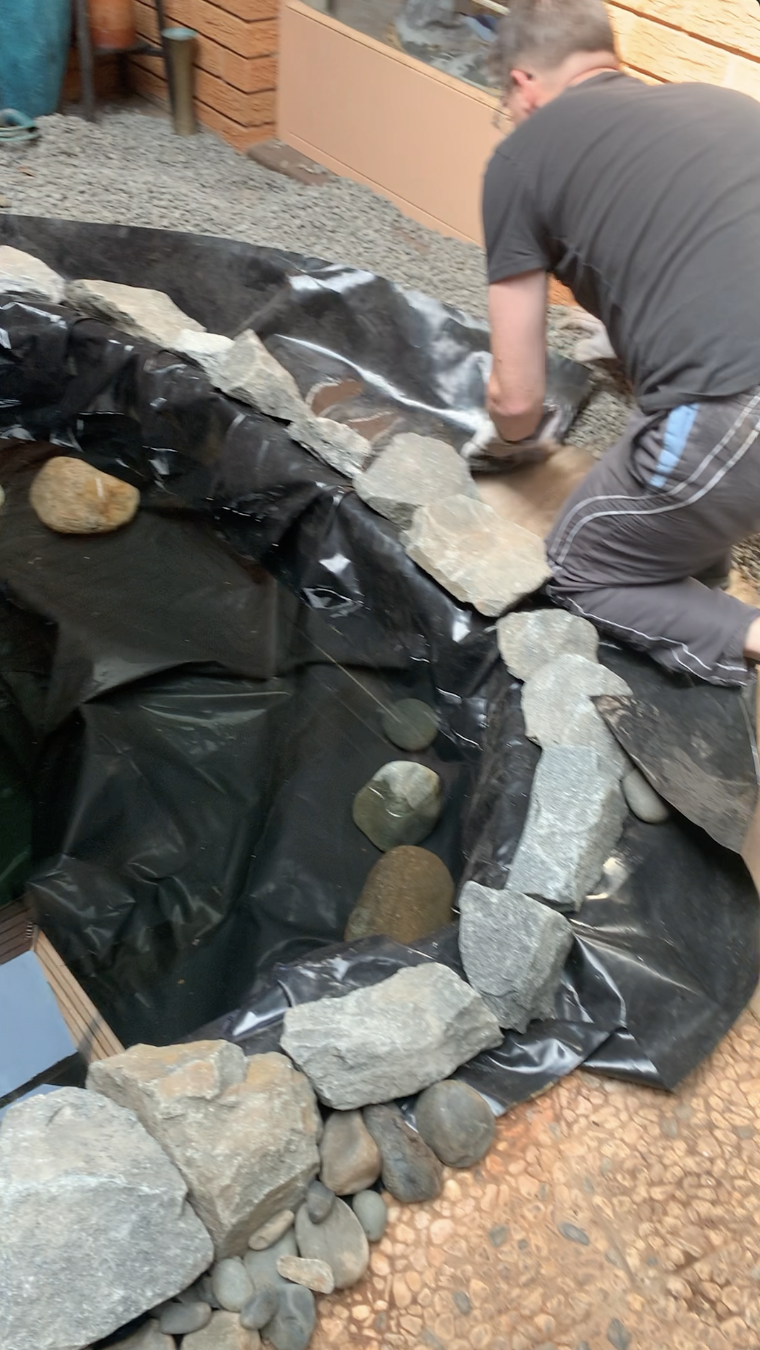
The first hard lesson we had to learn, was we didn’t have enough pond lining. We placed the pond lining around the jacuzzi and balanced some rocks on top and started filling the “pond”.
Unfortunately disaster struck when the weight of the water started pushing down, taking the rocks on the side with it and ripped some of the pond lining. :(
After measuring again, we bought some heavy duty, long lasting pond lining (15 x 20 FT this time) and then threw it over the hole and gently stepped down into the jacuzzi walking along the edges, and pressing it all down.
Since we couldn’t drill into the concrete, we added some natural polished river rocks on top of the area surrounding the jacuzzi as well as some heavy rocks to hold down the pond lining.
We chose the dark grey as they look stunning when they get wet as they turn black.
Step 3: Choosing the perfect water feature & pump
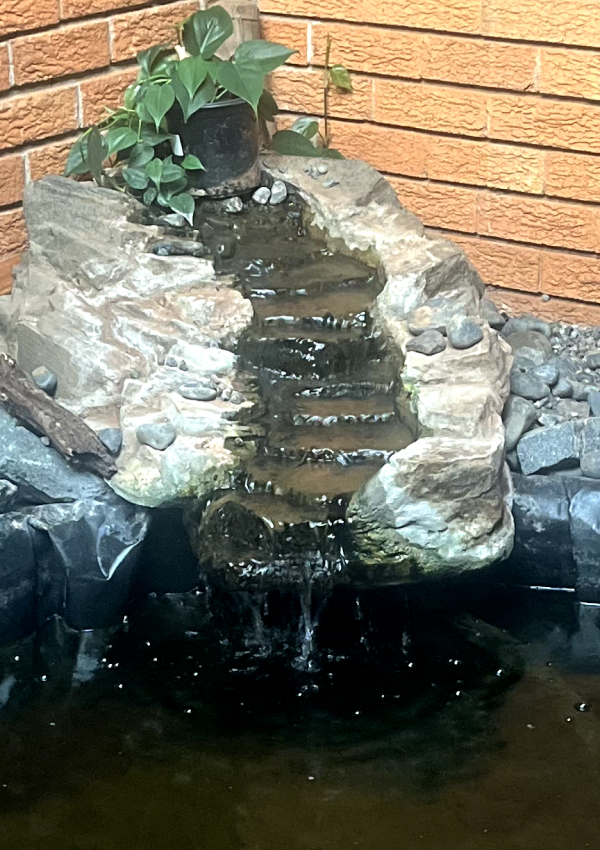
We find a really cute rock fountain, although it’s made from fibre glass, we thought it looked pretty realistic and would make the perfect addition to our pond. Unfortunately we grabbed the last one, but this water feature looks really cool too!
We bought this TetraPond pump and it does come in 4 different sizes depending on how deep your pond is and how much water you have in it.
Step 4: Filling the pond and treating the water
Yikes… there goes our water bill! It took quite some time to fill but after we filled it, we treated it with anti chlorine and water conditioning drops.
After about a week, we bought some water lilies and a few other water plants. We took a sample of our water to our local pet store to be tested. It still wasn’t quite right so we added more solution to try and get the water ready for fish. After about 3 weeks, and re-testing the water, the pond was ready for some gold fish.
It was an exciting day when we added our fish, and it was a feeding frenzy when we sprinkled some fish food into the water :) It’s been about a year and I’m happy to report, all our fish are happy and we’ve had no casualties thank goodness!
Have you taken on a home project that was a little more than you bargained for? I’d love to hear from you. Drop a comment below :)